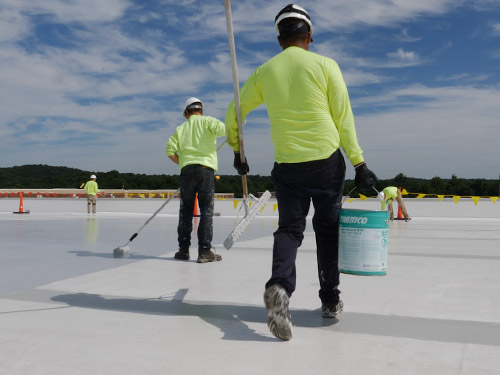
Step-by-Step Installation of the TREMguard LLM Fully Bonded System

TREMguard LLM can be installed using different methods, depending on the project requirements and site conditions. In this project (as shown in the video), we used the fully bonded method.
2. Overlap the roof membrane at a minimum of 3 inches (76 mm) at both side and end laps.
3. Mechanically secure the membrane at the valley using Paraseal Channel Bar and fasteners at 305 mm o.c. spacing.
4. When using TREMguard LLM Bonding Adhesives, unroll the membrane and fold it back in the long dimension to expose the underside for adhesion. Avoid creasing.
5. For best results, use a 3/8-inch (9.5 mm) solvent-resistant nap roller to apply the adhesive evenly. Be sure not to leave excess adhesive in one area to ensure uniform drying.
6. Coverage will vary depending on the porosity of the substrate surface. In this project, we applied it at 1.23 m² per liter.
7. Allow the adhesive to dry until it becomes tacky before bonding the membrane to the surface.
8. Press the membrane firmly onto the substrate and apply pressure using a roller to ensure complete adhesion while avoiding trapped air.
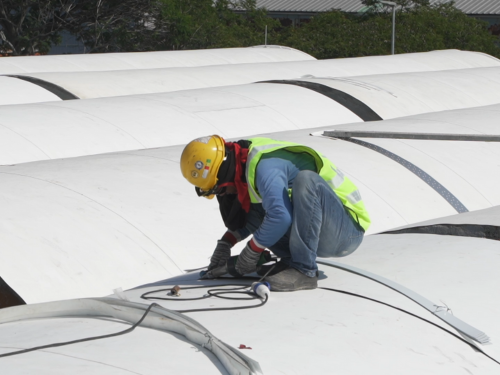
9. Heat-weld all TREMguard LLM TPO reinforced membrane seams, following the recommended welding guidelines.
10. For roof edge termination, use TREMguard TPO Coated Metal Sheets and fasteners at 305 mm o.c. spacing.
Watch the full installation video here!
For regular updates on products, projects and technical insights, join our community on LinkedIn and connect with like-minded professionals.
 |
Need Support? |
 Waterproofing and Roofing
Popular Types of Commercial Roofs and Waterproofing Systems
Waterproofing and Roofing
Popular Types of Commercial Roofs and Waterproofing Systems
It is sometimes hard to believe that there are so many different types of roofs for different structures, and some of them can do more than just weatherproof the top of a building...
 Waterproofing and Roofing
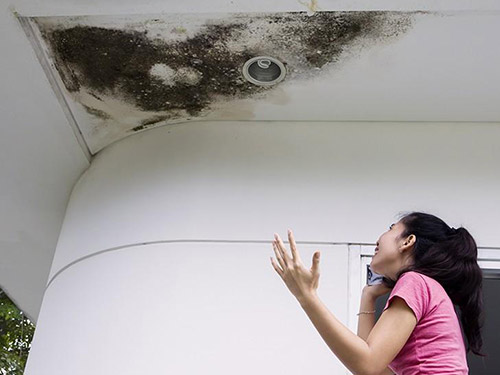
Common Problems Associated with Poor Waterproofing
Waterproofing and Roofing
Common Problems Associated with Poor Waterproofing
In order to construct a building that will stand the test of time, one of the key factors is the application of high-quality waterproofing. A poorly designed and installed...
 Waterproofing and Roofing
Balancing Cost-Effectiveness and Environmental Responsibility in TPO Roofing
Waterproofing and Roofing
Balancing Cost-Effectiveness and Environmental Responsibility in TPO Roofing
TPO roofing membranes is a durable and sustainable solution for commercial buildings. They offer cost-effectiveness and ease of installation, making them a popular choice for modern roofing needs.

Sign up for our newsletter

